A Quiet Place Deadzone Your First Session in Cold Spring
From Roblox join to a clean exit — redeem, configure, loot once, leave without wiping inventory.
Your first hour in A Quiet Place: Deadzone sets habits that either stick or cost you gear for weeks. This walkthrough is a session script — not a lore essay — for place ID 106920577206536 by QPG STUDIOS. Follow it in order on your very first join, then graduate to deeper pages on the Guides Hub.
If you already finished a messy run, treat this as a reset checklist rather than a shame list. Most early wipes come from noise and exit timing, not from lacking skill.
Phase 1: Join the correct experience
Search results mix Deadzone Classic, random Quiet Place roleplays, and A Quiet Place: The Road Ahead. Confirm QPG STUDIOS branding and the full title on the Roblox page. The experience may show an [UPDATE] prefix in the title — that is normal during Pre-Alpha.
Server cap is 12 players. If your first lobby feels chaotic, hop once before blaming creature AI. Read Beginner Mistakes for wrong-game traps and Vs Road Ahead if you are unsure which product you opened.
Wait for assets to load on spawn. Pre-Alpha stutter on first entry is common; do not sprint while textures pop in.
Phase 2: Redeem 10000LIKES before exploring
The official Roblox description lists 10000LIKES as the live promo string as of 2 Aug 2026. Redeem before looting so any starter boost applies to your first loop.
- Open the in-game menu path from How to Redeem.
- Copy
10000LIKESexactly — case matters on many Roblox promo boxes. - Confirm the reward toast on your profile. Do not assume identical Level text to older community notes about
1000LIKES. - Cross-check Active Codes if redemption fails on a stale server.
Codes soften early friction; they do not silence footsteps. Pair redemption with Leveling and XP after you survive the loop below.
Phase 3: Mic check and audio baseline
Deadzone treats sound as gameplay. Before you walk ten meters:
- Set Audio Settings so creature telegraphs are audible.
- Decide microphone detection policy via Microphone Settings. A loud household makes open mic a liability.
- Wear headphones if possible — phone speakers hide directional cues.
- Run the Silence Survival Checklist mentally: mute Discord, close tabs with autoplay, warn roommates.
Creatures respond to movement noise, props, and often mic input. See Hearing and Alerts for what “heard you” actually means in public builds.
Phase 4: Learn the danger indicator (30 seconds)
The danger warning is the inventory gatekeeper. While it is active, leaving the server can wipe carried items — an official Pre-Alpha rule repeated on the experience page. Read Keep Your Inventory before your first logout.
During this session, your rule is simple: no disconnect until the indicator clears. If creatures pressure you, switch to hiding tactics from How to Hide instead of alt-tabbing.
Phase 5: Bindings and movement reset
Open PC Controls or Mobile Controls depending on device. Relearn crouch-first movement from How to Stay Silent. Roblox muscle memory says sprint; Deadzone punishes that habit on metal and gravel.
Pick one short landmark route from Survive Cold Spring or the map primer on Cold Spring Map. Your first loop should be small: enter quietly, grab essentials, exit clean.
Phase 6: First quiet loot loop
Goal: one successful cycle without triggering a panic exit.
- Crouch from spawn toward a familiar indoor or alley segment — softer surfaces first.
- Loot only what you need for the immediate route. See Loot Food and Water for supply priorities.
- Avoid noisy interactions: generators, breakable glass, sprinting on open streets.
- If the danger warning flickers, stop moving, break line of sight, and apply Stealth Tips.
- When pressure drops, walk — do not sprint — back toward a safer pocket or your planned exit.
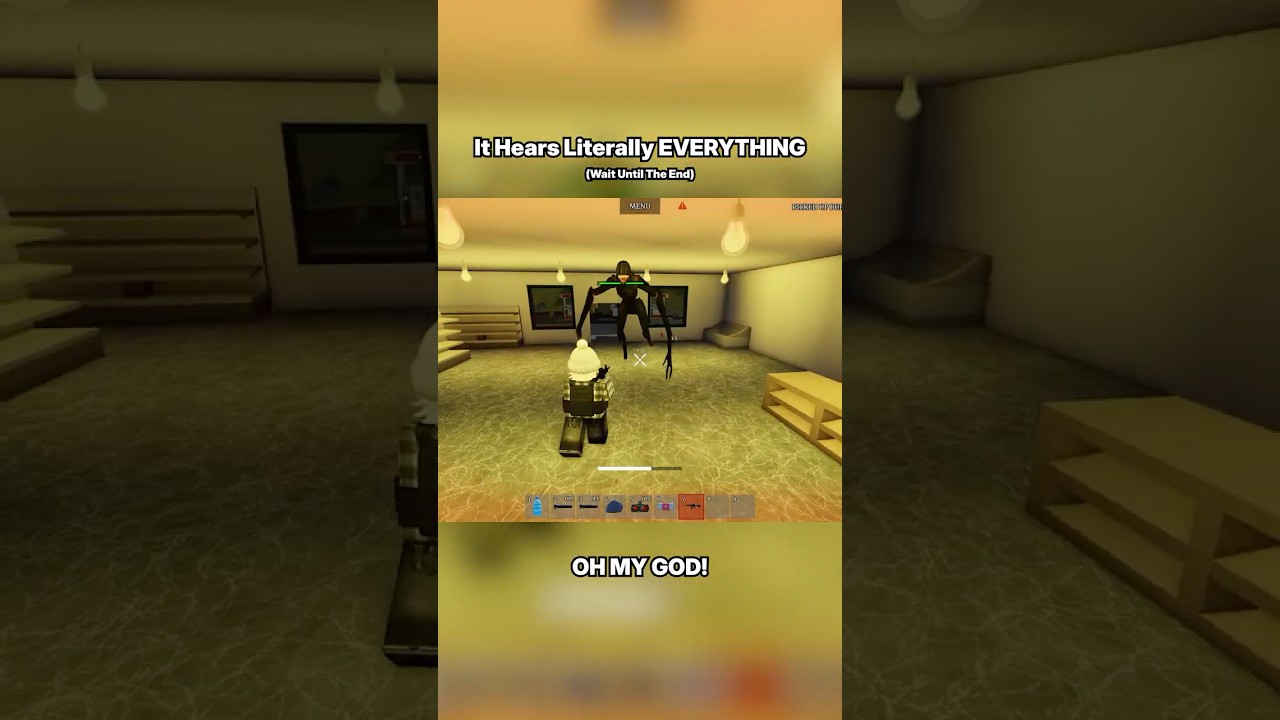
The embedded gameplay video below shows how quickly noise spirals when players treat Cold Spring like a combat lobby. Pause when the danger indicator appears and ask what the player should have done differently.
Phase 7: Safe exit
When you are done — success or learning death — verify the danger warning is off. Then leave Roblox or hop servers. Mid-chase disconnects are the most expensive beginner mistake.
If teammates rage-quit during danger, you still follow the rule for yourself. Co-op without mute agreements stacks noise — skim Co-op Tips before inviting friends next time.
After session one: what to read next
| If you struggled with… | Open next |
|---|---|
| Footsteps and sprinting | How to Stay Silent |
| Inventory loss | Keep Your Inventory |
| Creature pressure | Creatures Overview |
| Gear choices | Items and Gear |
| Patch drift | Latest Update v1.2 and Pre-Alpha Status |
Pre-Alpha expectations
Gamepasses may change. UI flows shift. The title may show [UPDATE] after patches. None of that excuses skipping silence fundamentals. Avoid Scripts on day one — executors risk bans and teach the wrong game.
Related hubs
Guides Hub · Codes Hub · Creatures Hub · Tools Hub
Your first session is complete when you redeem the live code, finish one quiet loop, and exit without wiping inventory during danger. Everything else on this wiki builds from that foundation.
Frequently Asked Questions
Quick answers drawn from how players actually survive Cold Spring.
What code should I redeem on my first join?
10000LIKES is listed on the official Roblox description as of August 2026. Redeem via How to Redeem before looting.
Can I skip the mic check?
Not recommended. Many sessions treat microphone input as a sound source. Configure Microphone Settings and Audio Settings first.
How long should my first loot loop be?
Keep it short — one landmark route, essentials only, exit when the danger indicator clears. Expand after basics stick.
What if I already lost inventory on session one?
Rejoin, redeem 10000LIKES if needed, reread Keep Your Inventory, and rerun this walkthrough as a clean checklist.